
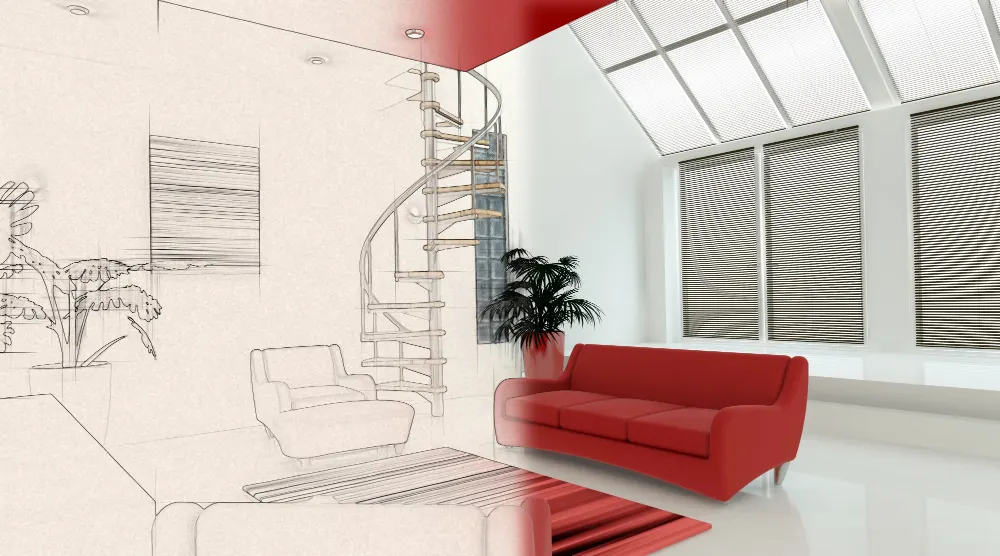
The gap between drawings and decisions
Every project starts as drawings – plans, elevations, sections, schedules. Drawings are precise and complete, and almost nobody outside the design team can read them. A client cannot feel a ceiling height from a section. A lender cannot picture a plaza from a site plan. A planning board cannot assess street character from an elevation drawing.
Rendering closes that gap. This is the workflow that takes a project from CAD files to photorealistic imagery, and where projects typically lose time.
Step 1: What you send
We work from whatever you have. In order of how much time each saves:
| Input | Effect on the project |
|---|---|
| Coordinated Revit model | Fastest. Geometry is complete and dimensionally consistent. |
| 3D SketchUp model | Fast. Needs material and detail work. |
| CAD plan and elevation set | Standard. We rebuild geometry from the drawings. |
| PDF drawing set | Workable. Dimensions must be read and interpreted. |
| Hand sketches and mood boards | Possible. Requires design decisions to be locked during briefing. |
Better input means fewer assumptions, and assumptions are where rework comes from. See our CAD drafting and 3D modeling services if you need help getting to a workable model stage first.
Step 2: Modeling – and why the base model gets approved first
We rebuild the geometry cleanly in production tools rather than importing whatever geometry the drawings happened to produce. Site context is modelled from survey data and satellite imagery: adjacent buildings, street widths, mature canopy, grade changes.
You review and approve the base model before we spend time on materials and lighting. This single checkpoint prevents the most expensive failure mode in visualization – discovering that a camera angle or massing reading is wrong after twelve hours of material work.
Step 3: Cameras, lighting and time of day
Camera position does more to determine whether an image sells than any material choice. We lock angles at briefing: eye level for street character, elevated three-quarter for massing, aerial for context, interior for atmosphere.
Lighting is calibrated to the site’s real orientation and the target hour. This matters more than most clients expect – and in some markets it is a hard requirement:
- Austin and Central Texas – low winter sun angles, high summer haze
- South Florida – high reflective light, water bounce into interiors and building undersides
- Downtown contexts – shadow studies at solstice and equinox for review boards
Twilight and blue hour take longer to produce than daylight and typically add 15-30% to cost, but they carry most of the emotional weight in marketing imagery.
Step 4: Materials built from your specifications
Materials come from the actual product specifications wherever they exist – the tile you specified, the stone you chose, the window system in the schedule. Where specifications are not yet locked, we say so at briefing and make defensible choices rather than guessing silently.
Material scale is the most common tell of amateur work. Brick, stone and tile applied at the wrong scale read as generic pattern, and the image loses credibility with anyone who knows the product.
Step 5: First draft, revisions, delivery
The first draft arrives at full resolution on the promised date, usually alongside clay and material-only passes so composition and finishes can be reviewed separately. Revision rounds turn in 24-48 hours.
Final delivery includes every format the downstream channels need – layered PSDs for your designer, 300 DPI TIFFs for print, PNGs with alpha for compositing, WebP for site performance, print-scale files up to 60×90 inches for sales-centre wall wraps, and MP4 or MOV for animation.
Where CAD-only projects lose time
Unresolved design decisions at briefing
If the massing or material palette is still moving, rendering it locks in a decision that has not been made. Settle the big moves first.
Missing elevations or sections
Plans alone leave facade depth, window proportions and roof form undefined. A complete elevation set removes guesswork.
Site information gaps
Adjacent building heights, street trees and grade changes shape how a project reads at ground level. Satellite imagery fills some gaps; survey data fills the rest.
Late format requirements
Discovering six weeks in that the sales team needs vertical crops, an alpha-channel PNG and a 60-inch print file means re-rendering work that a one-line brief would have covered.
Turnaround
Standard static renderings deliver in 2-3 days at Arktek 3D. Exterior twilights run 7-10 days, and animations 3-5 weeks. Rush delivery is available at 48 hours when scheduled in advance.
See our architectural visualization services for aerials and site plans, animation services for walkthroughs, or the 2026 cost guide for pricing benchmarks.
Start your project
Send your drawing set in any format to info@arktek3d.com or call 904-377-7088. You will have a fixed quote and production start date within 24 hours – and if a smaller deliverable set would serve you better, we will say so.